Make-Ahead Breakfast Favourite
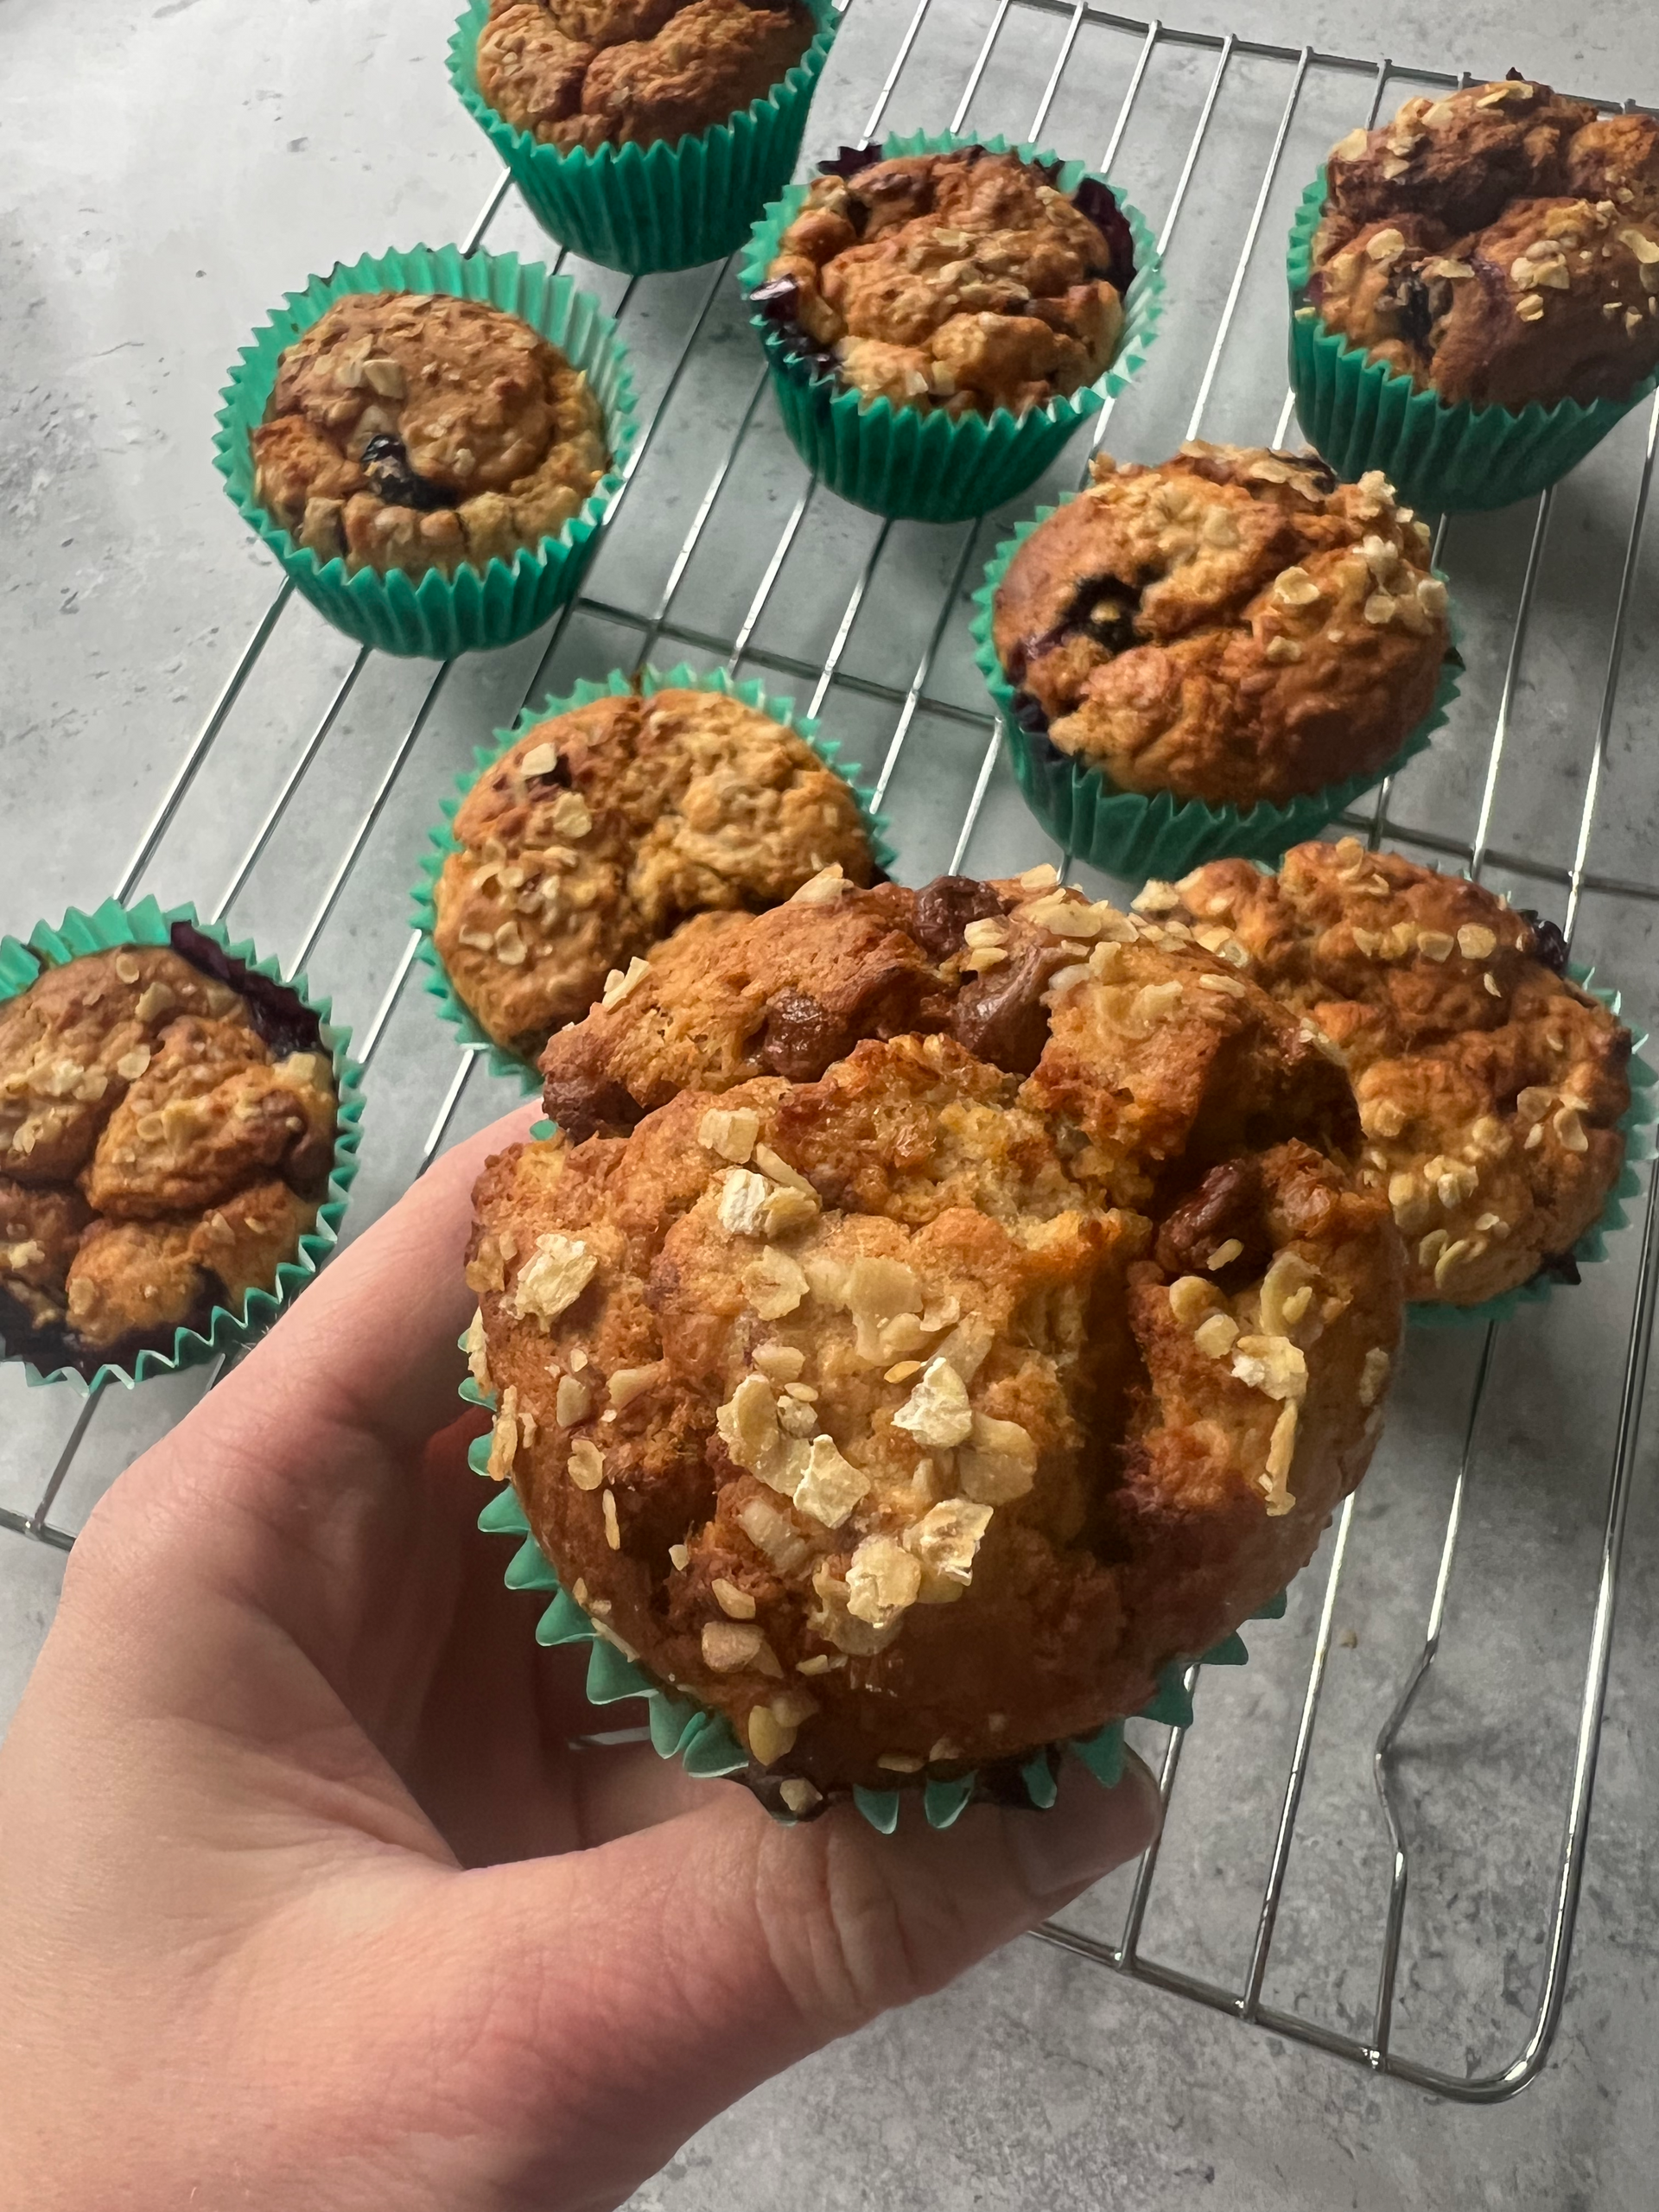
Breakfast Muffins

Breakfast muffins in our house are like gold dust – one minute they’re there, the next….. gone! Any time my 7 year old can have ‘cake’ for breakfast she sees is as a massive win, but if that ‘cake’ is free from refined sugar, made with oats & contain fruit – it’s a win for me too!


I’ve been making these muffins on repeat for weeks now and I LOVE them! These save my sanity on busy mornings, or sometimes I sub a couple of these in Mia’s lunchbox when she’s fed up of sandwiches. I’ll pop the recipe & instructions below but if you would prefer to watch how I made them, and get some inspiration for other quick make-ahead breakfasts, then make sure you click on the YouTube video below!


The only snag with these muffins is that you do need to wait a while when they come out of the oven before trying them – They will taste great but won’t be very easy to take out of the paper casing. However, once they’ve had chance to fully cool down, they’ll easily come out of the paper case.


RECIPE


Makes 12 breakfast muffins. Will keep for 2-3 days at ambient in an air tight container. Freeze for longer & defrost overnight or for 2-4 hours.


Ingredients:

  • 140ml milk
  • 100g oats
  • 100g greek yoghurt
  • 115g butter
  • 200g plain flour
  • 1 tsp baking powder
  • 1/2 tsp bicarbonate of soda
  • 1/2 tsp ground cinnamon
  • 1 overripe banana, mashed
  • 100g honey
  • 1 large egg
  • 1 tsp vanilla
  • 115g blueberries
  • 60g chocolate chips (optional)


Instructions:

  1. Preheat the oven to 215C. To a jug, add the milk, oats & greek yoghurt. Stir and set aside.
  2. Meanwhile, melt the butter either in the microwave in short bursts or over a medium-low heat in a pan. Once melted, set aside to cool slightly.
  3. In a bowl, mix the dry ingredients together; flour, baking powder, bicarb of soda and cinnamon.
  4. In another bowl, mash the banana and add the rest of the wet ingredients; honey, egg & vanilla extract. Stir and add to the dry ingredients with the oat mixture & the melted butter. Add in the blueberries and chocolate chips and stir until just combined. Do not be tempted to over-mix.
  5. Spoon the mixture into 12 muffin cases and sprinkle with oats, if you like.
  6. Bake the muffins at 215C for 5 minutes, then turn down the heat to 180C and bake for a further 16-17 minutes, until the muffins are cooked. Do not remove the muffins from the oven when turning down the heat.
  7. Once cooked, leave to cool in the pan for 5 minutes and then pop them onto a rack to fully cool. These are best eaten once fully cooled, or the next day!


Check out more blogs here

by PH935075 30 March 2026
Planning a Center Parcs trip and not sure what to do about food? Here’s exactly what we prepped, packed and took with us to make things easy (and cheaper).
by PH935075 30 March 2026
The ultimate freezer-friendly pulled pork for quick, easy meals
by PH935075 30 March 2026
The ultimate make-ahead lasagne for busy weeks, hosting, and Centre Parcs prep!
by PH935075 22 February 2026
Hidden Veg Tomato Pasta Sauce
by PH935075 28 March 2025
Baked Pancake Sheet
by PH935075 28 March 2025
Super Easy Granola!
by PH935075 28 March 2025
Crispy Sesame Sweet Chilli Chicken
by Jenna Brown 23 February 2025
Trying to feed 16 on a tight budget can be tough, until I realised the perfect solution….. A PIZZA PARTY! Click here for recipes, instructions & more!
by Jenna Brown 13 February 2025
Freezable Fluffy Pancakes!
by Jenna Brown 11 January 2023
Whether you breastfeed, formula feed, exclusively pump or combination feed, chances are you have questioned yourself over sterilising; what needs to be sterilised , how often and until when?! When our babies are little, it’s our natural instinct to want to do everything we can to protect them! So… here’s a run down of what you NEED TO KNOW when it comes to protecting them from germs and bacteria when it comes to their own feeding equipment! BUT… Before we get into the detail of the ‘what, how and when’s’ of sterilising, I’ll start by answering the simple question of Why do we need to Sterilise?! The most important factor to point out here is that babies under 1 don’t have the same immune systems as us adults, or even older children. Sterilising will help kill any bacteria present in your baby’s feeding equipment, ultimately helping to protect your baby from infections that may cause your baby to suffer symptoms of sickness and diarrhoea. But don’t be daunted by the need to sterilise equipment! It really is straightforward once you get the hang of it and hopefully this blog will help you to answer some of your questions covering EVERYTHING you need to know about sterilising… What needs to be sterilised? Regardless of whether you are breast feeding or formula feeding, there is typically always something that needs sterilising! If you’re formula feeding…… Before every feed, you will need to make sure that all parts of your baby’s bottle have been sterilised; including the bottle, teat, lid and any internal parts of the bottle such as anti-colic venting tubes. If you’re breast feeding…… If expressing breast milk, the NHS advise that you should store expressed breast milk in sterilised containers or in special breast milk storage bags (which are pre-sterilised and ready to use straight away). When it comes to sterilising breast pump equipment, this isn’t an area where there is a lot of research so often advice regarding sterilising breast pumps can differ between professionals. In the UK, the NHS recommends that all equipment which comes into contact with your baby’s milk (including equipment used to collect, store or feed expressed breast milk) is sterile. However, the Association of Breastfeeding Mothers, along with the Academy of Breastfeeding Medicine, advise that after sterilising before first use, subsequently washing breast pump parts with hot soapy water is sufficient for healthy babies . Ultimately, how often you choose to sterilise your breast pump equipment will be your own personal decision taking into account the health of your baby, what you feel comfortable with and are able to realistically sustain on a daily basis. It’s important to remember though that sterilising will always help to add an extra layer of protection for your baby; which may be particularly important if your baby is less than 3 months old, was born prematurely or has a weakened immune system. If you haven’t used your pumping equipment in a while though, it’s always best to sterilise before using. Anything else you need to sterilise? As well as baby’s feeding equipment (such as bottles), it is also a good idea to sterilise other items which regularly go into baby’s mouth like dummies for the first six months of baby’s life - especially as these items seem to always end up on the floor! Is it Necessary to Sterilise Weaning Equipment? Once you’ve finally mastered sterilising baby bottles, it is then time for weaning! Along with a whole raft of questions you may have about weaning, in those early days you might wonder…. “ Do I need to sterilise weaning equipment?!” Rest assured… if you’re weaning around the recommended age of 6 months, then there is no need to sterilise the equipment you use for food such as bowls, spoons or cups and washing in hot soapy water or using a dishwasher will be sufficient for these weaning essentials. However, if you decide to wean before 6 months, it is recommended by the NHS that you do sterilise baby’s feeding equipment until they reach 6 months. Don’t forget though that it is always important to follow good food hygiene practices at any age! Check out some of my other blogs about preparing first foods as well as tips on storing, defrosting and reheating your baby’s food here.
Show More