Sterilising - Everything You Need to Know!
How to Sterilise
Before you start…
There are a few different methods to choose from when it comes to sterilising, but regardless of what method you choose, there are a few things you need to do first!
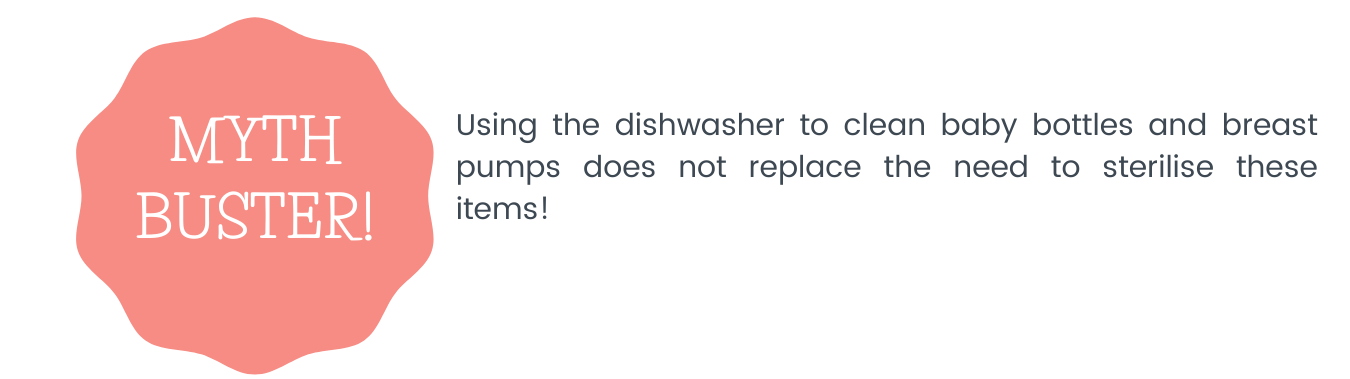
First things first; you need to physically clean all parts of the baby’s bottles or feeding equipment first using either hot soapy water or using the dishwasher. If using the dishwasher, make sure all of the hard-to-reach places; particularly inside teats, are thoroughly clean before sterilising!
Once you’re happy all parts are clean, rinse using cold running water and you’re ready to go…
TOP TIP: Remember to sterilise all the parts of the bottle separately! Don’t assemble bottles until after sterilisation has taken place.
Sterilising Methods
There are lots of devices on the market to help you when it comes to sterilising your baby’s feeding equipment either at home or on the go. Essentially, there are 3 main methods for sterilising:
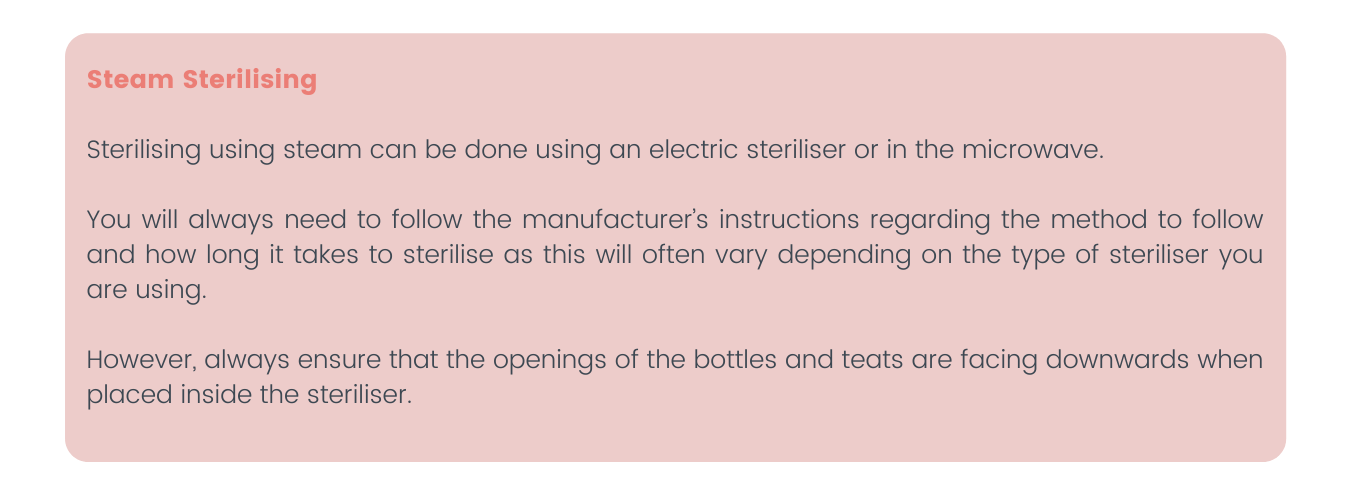
- Using steam
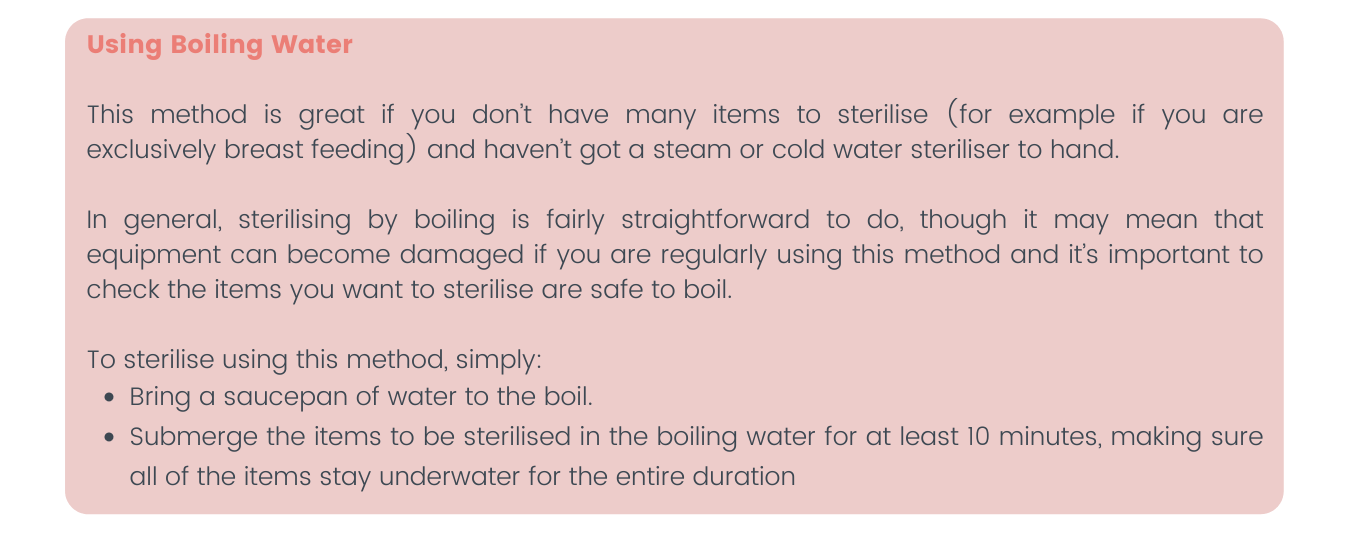
- Using boiling water
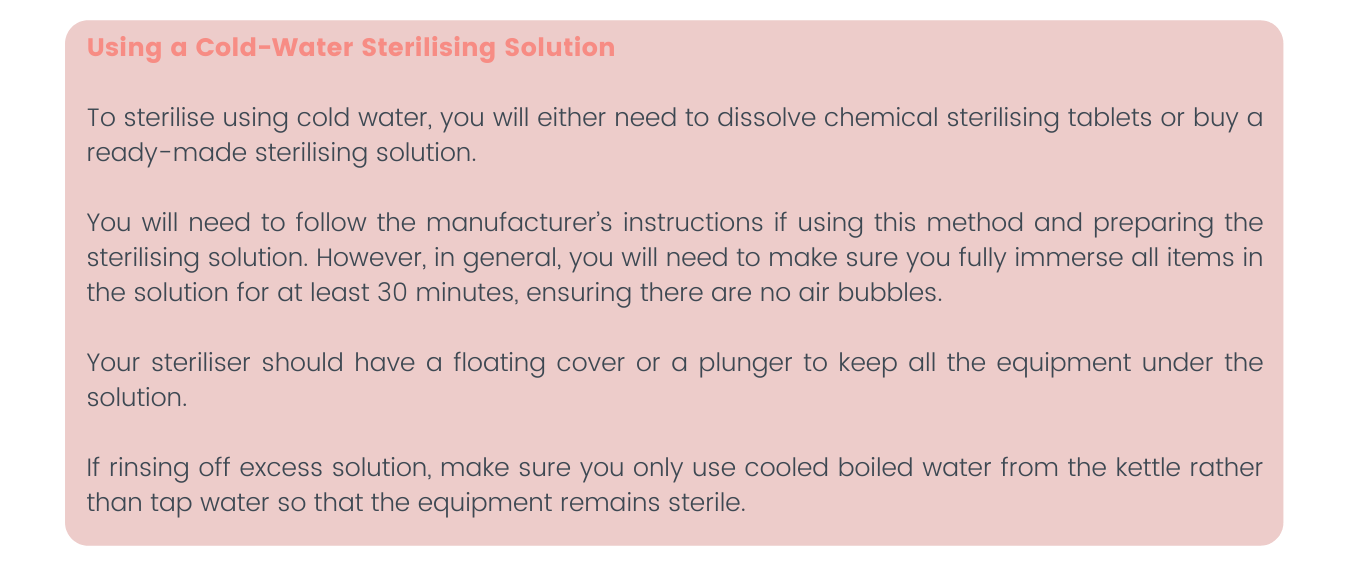
- Using a cold-water sterilising solution
Providing each method is done correctly, all are deemed to be effective so the method you choose is likely to come down to personal preference as well as how often you need to sterilise items, the price of sterilising equipment as well as the room you have in your kitchen!
After Sterilising
Always wash your hands before handling any sterilised equipment!
If you can, leave your bottles and teats in the unopened steriliser until you need them. However, once you have opened the lid to the steriliser, even if it is just to remove one bottle, always assemble all the remaining bottles inside the steriliser, being careful not to touch the teats and always ensuring any surface used to assemble the bottles is clean.
And remember…. Condensation in the bottles is completely normal! This is nothing to be worried about as the water inside the bottles is sterile… just don’t be tempted to dry the bottles as you may inadvertently transfer bacteria from the cloth into your freshly sterilised bottles!
How Long do items stay Sterile for?
Bottles and teats should stay sterile for approximately 24 hours if they have been assembled or left in an unopened steriliser.
When storing expressed breast milk, if you have used a sterile container to store your breastmilk in the fridge or freezer, there is no need to change the container or re-sterilise once milk is inside the bottle.
When is it okay to stop Sterilising?
To put it simply, it's important to sterilise all your baby's feeding equipment such as bottles teats and breast pumps, until they are at least 12 months old.
Once your baby starts crawling and decides to start putting EVERYTHING in their mouth… you might be tempted to stop sterilising earlier than recommended - But it’s important you don’t! As I mentioned earlier, milk residues are breeding grounds for potentially harmful bacteria so during the first year of their life it is important to protect their health as much as possible.
By the time your baby has reached 12 months old, their immune systems will generally be much more resilient.
Although you may be counting down the days until you can stop sterilising, remember that there is no harm if you continue to sterilise bottles and feeding equipment for as long as your baby is using them, and sterilising will always add that extra layer of protection for your little one…. Just make sure you continue sterilising until they are at least 12 months old.
TOP TIP: Once you do decide to stop sterilising after this time; make sure you always wear rubber gloves when washing up any feeding equipment so you can get the water nice and hot!
Hopefully this blog has answered all of your sterilising related questions... and more!
References:
- National Childbirth Trust (NCT), 2019. How to sterilise baby bottles, breast pumps and other feeding equipment. Accessed 7th February 2021 [https://www.nct.org.uk/baby-toddler/feeding/practical-tips/how-sterilise-baby-bottles-breast-pumps-and-other-feeding-equipment]
- NHS, 2014. A Guide to Weaning. Accessed 7th February 2021 [https://nhsforthvalley.com/wp-content/uploads/2014/03/A-guide-to-weaning-April2014.pdf]
- NHS, 2019. Sterilising Baby Bottles. Accessed 7th February 2021 [https://www.nhs.uk/conditions/baby/breastfeeding-and-bottle-feeding/bottle-feeding/sterilising-baby-bottles/]
Check out more blogs here